CLOSED – As of today, 03/10/2021, Havasupai tourism remains suspended until June 1, 2022. For more info, visit https://www.havasupaireservations.com.
The people of the blue-green water (Havasu means “blue-green water” and pai “people”) lead a beautiful yet remote life. Isolated from the world and accessible only by a long, tedious hike (more on that later) or by helicopter, Supai village is as remote as you can get. However, the water surrounding the village is why thousands of adventurers make the trip each year.
Havasu Creek, world-famous for its bright blue-green color, starts out as a trickle of snow run-off and rainwater before it travels about 50 miles, entering Havasu Canyon. The water stays at about 70 °F (21 °C) year-round. The creek runs through the village of Supai, and it ultimately flows into the Colorado River at the bottom of the Grand Canyon.
Layton and I decided it was time to check this beautiful location off our bucket list, and so began our 30-mile, 3-day, wet-and-gorgeous adventure.
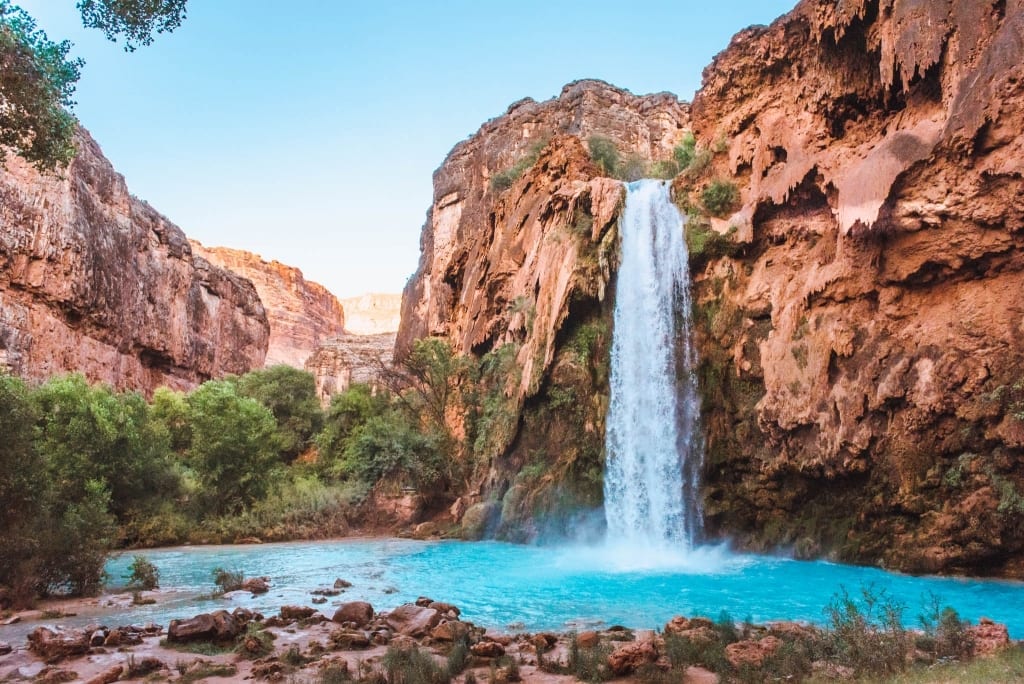
Hiking Havasupai Falls
There are two times you’ll truly “hike” during your trip: going down the canyon to the campground/village and coming back up the canyon to get home. Here are some tips for both!
Hiking Down: In a perfect world, you would start the hike before 7 AM. At the very latest, don’t start after 10 AM
You’ll have to park at Hualapai Hilltop and check in with the front desk (the only building around the trailhead). They don’t allow day hiking, so you must have a reservation to hike! Don’t forget your ID and credit card, as you will need them to check in at the Havasupai Tourist Office in the village.
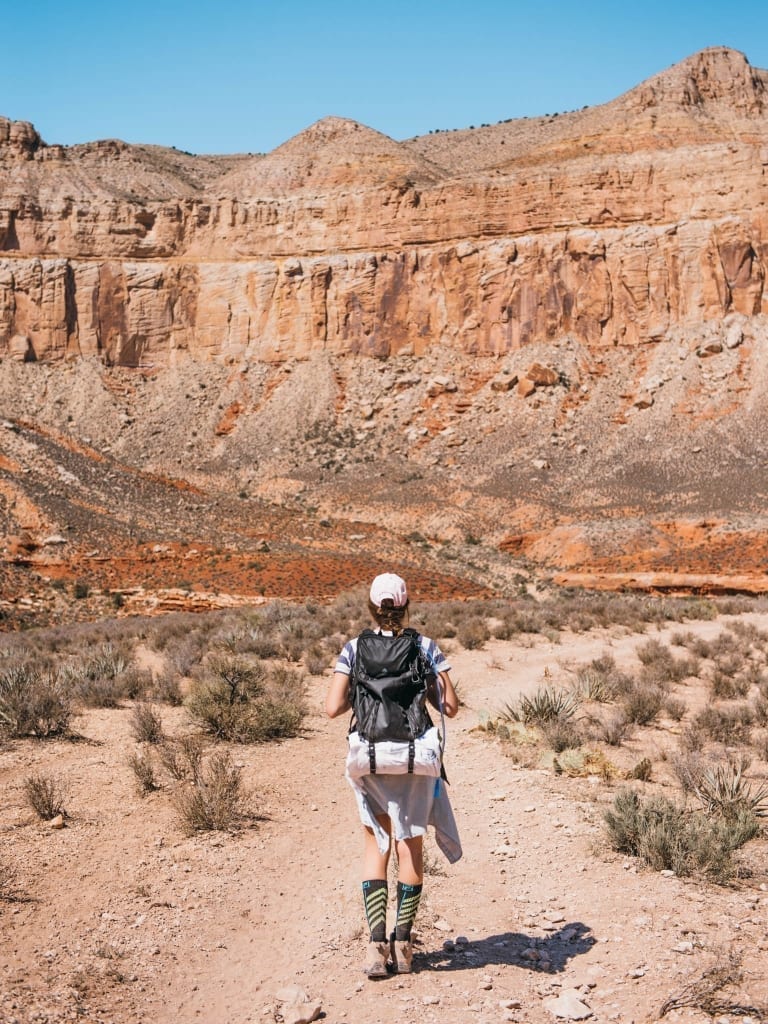
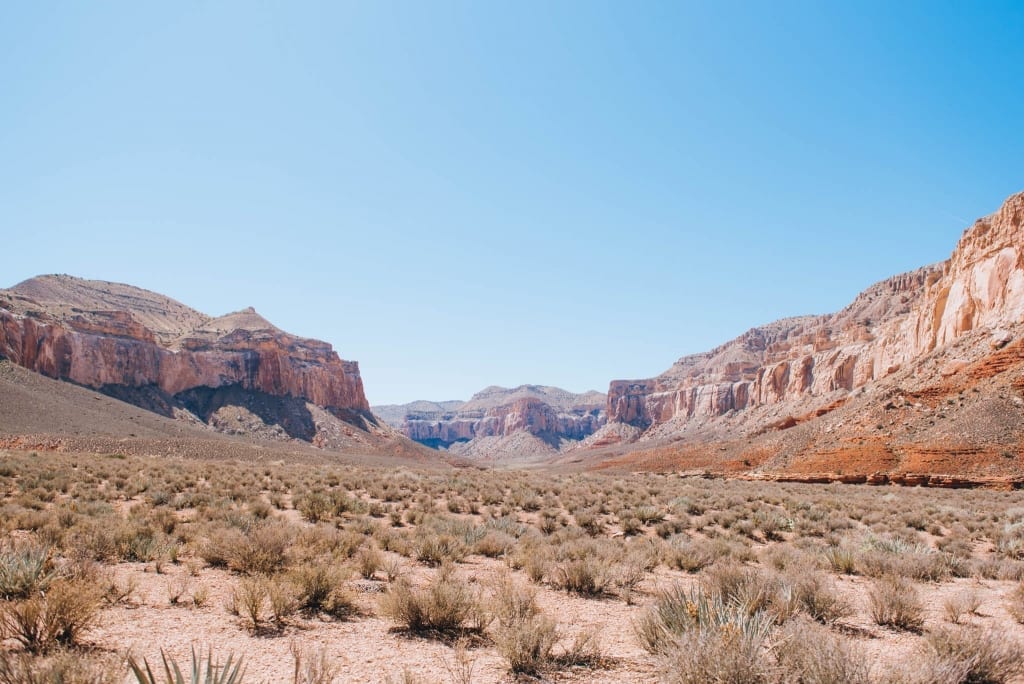
From there, you’ll start down a steep set of switchbacks that are the beginning of your journey. The initial few miles are in the exposed “wash” before you enter the canyon. It can get pretty toasty during this part of the hike, so the earlier the better. The next few miles are through the canyon, where the walls of the canyon provide some shade, but it’s rare to find a breeze. Finally, the last few miles are through the village to the campground, where you’ll walk along the river and see some of the falls you’ll get to explore soon!
Hiking down really isn’t too hard. If you choose to carry your pack (you can have the mules or helicopter take it down for you), make sure you pack it correctly to avoid super sore shoulders. The hike from the top to the campground is roughly 10 miles (although it feels more like 12), so bring plenty of water (we brought a 2.5-liter camelback for each of us). Your feet will most likely hurt at the end of the hike, but you can soak them in the river once you get there!
The hike down took us three and a half hours to reach the village, where we stopped for an hour to get food, and then another hour from the village to the campground. Total hiking time was 4.5 hours.
TIP: Take plenty of breaks to grab some pictures of this unique hike. You may think you’ll have time when you hike back for photos, but believe me, you’ll be too tired to even think about it.
Hiking Back: I’m not going to lie, this is the tough one. Most people either helicopter back or have the mules take their packs at a minimum. We foolishly didn’t do either.
The hike is going uphill the entire time. From the campgrounds to the village, you have a fairly steep ascent. From the village through the canyon, the ascent is fairly flat, but you still notice the slowly climbing landscape. After you exit the canyon (which seems to be much longer than it did on the way down), you enter the hardest part: the switchbacks up to the parking lot.
If you’ve ever seen the massive canyon walls of the Grand Canyon, you know what you’re climbing. You start at the bottom of the canyon and climb to the top. It’s hard, long, and painful. However, you will make it.
We left the campground around 7 AM, and that was about two or three hours too late. By the time we were climbing the switchbacks, it was hot and sunny. I highly suggest leaving the campground at 5 AM or earlier so you will have mostly shade while hiking through the canyon. This means you need to set an alarm for 4 AM or earlier in order to take down the tent and pack up camp.
The hike back took us an hour and a half to get to the village, three hours through the canyon, and then one and a half hours up the switchbacks. Total of about 6 hours.
Havasu Falls
Havasu Falls are the most famous of the waterfalls you’ll discover during your stay. Located about 1.5 miles from the village of Supai (right before the campgrounds). They are easily the most visited of the various falls along Havasu Creek.
The falls consist of one main chute that drops over a 90-foot vertical cliff into a series of plunge pools. Due to flash floods, the appearance of Havasu Falls and its plunge pools has changed over time. Prior to the 1910 flood, water flowed in a continuous sheet, and the falls were known as Bridal Veil Falls. The notch which water flows now first appeared in 1910 and has changed several times since. Water currently flows as a single stream, but in the past, there were sometimes multiple streams.
These falls are hard to miss because you walk right past them to get to the campground. You’ll probably hear them before you actually see them! It is truly an amazing sight.
Due to the open nature of the canyon around the falls, you can visit these at any point during the day. We went around 4 PM and stayed until sunset,t which made for a beautiful ending to our first day.
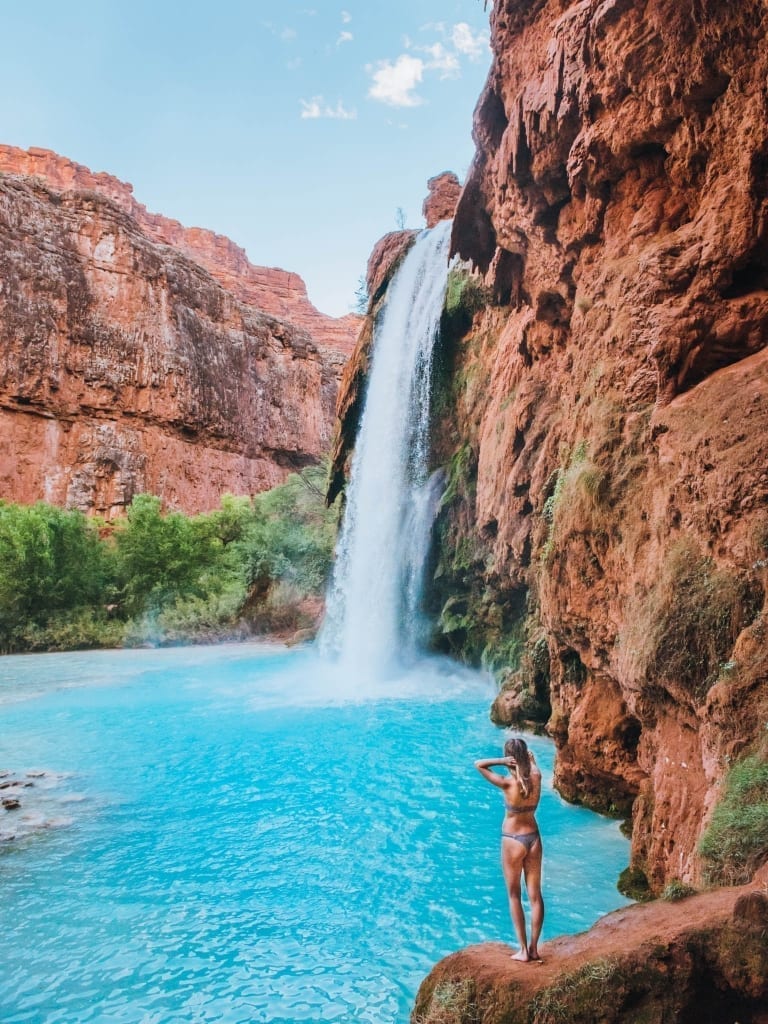
Mooney Falls
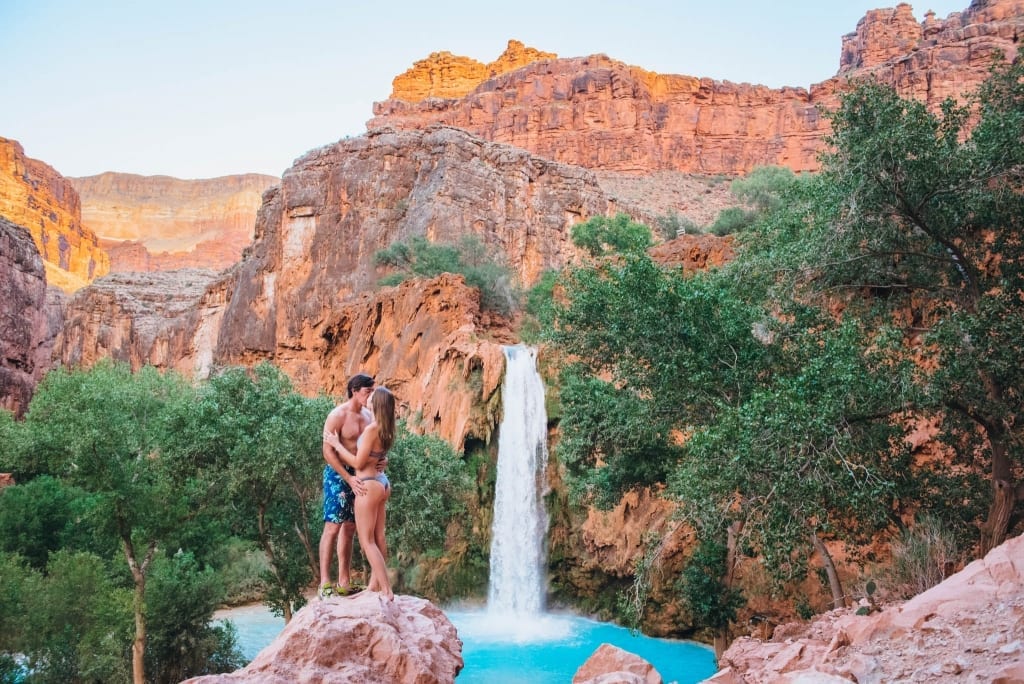
Named after D. W. “James” Mooney, a miner, who in 1882 decided to mine the area near Mooney Falls for minerals. One of his companions was injured, so James Mooney decided to try to climb up the falls with his companion tied to his back, and subsequently fell to his death.
The Falls are located 2.25 miles from the village of Supai, just past the campgrounds. The campground trail leads to the top of the falls, where there is a lookout/photography area overlooking the 210-foot canyon wall that the waterfall cascades over.
In order to gain access to the bottom of the falls and its pool, you have to scale a rugged and dangerous set of wooden ladders, chains, and caves. Be careful, but don’t be afraid.
The trail down is located up against the left side of the canyon wall. The first half of the trail is only moderately difficult until the entrance of a small cave is reached. At this point, the trail becomes precarious. The small cave is large enough for the average human and leads to a small opening that leads to another cave. At the end of the second cave, the “trail” becomes a vertical rock climb, similar to descending a ladder. Strategically placed chains, handholds, and ladders aid in the climb. Mist from the falls often makes the rock slippery, so climb down backward (like you would a ladder) to make it much easier.
I hope this doesn’t scare you. If I can do it, so can you! I promise the risk is worth the reward.
TIP: If you want to have the place to yourself and take the best photos, make sure to do Mooney Falls in the early morning.
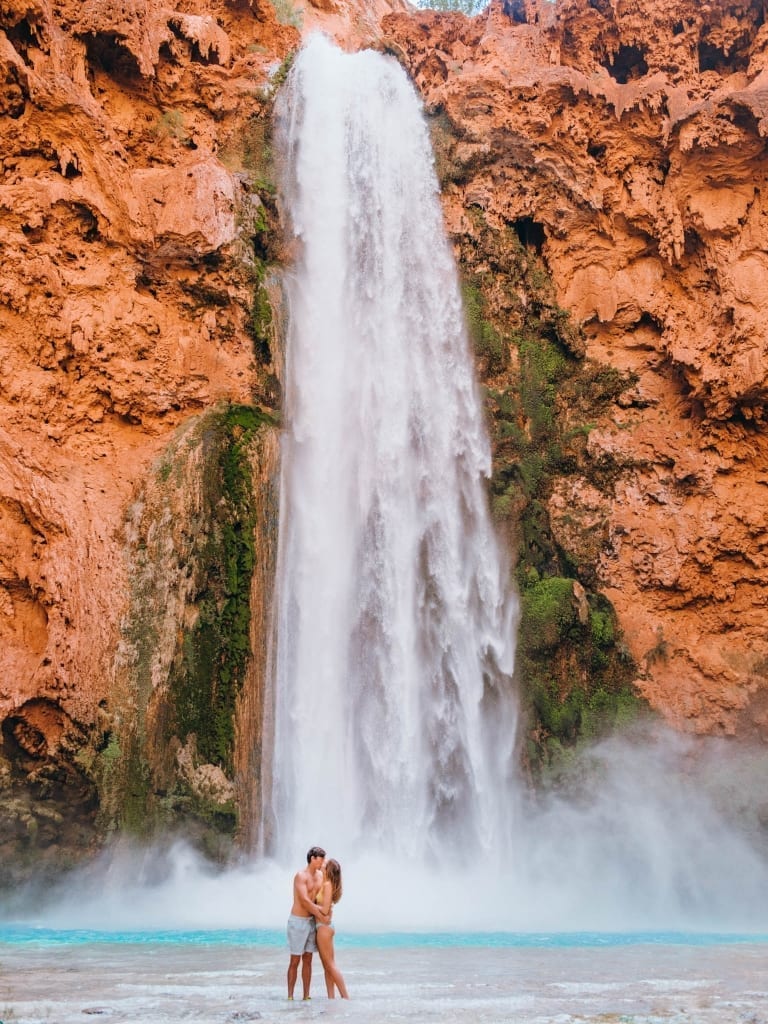
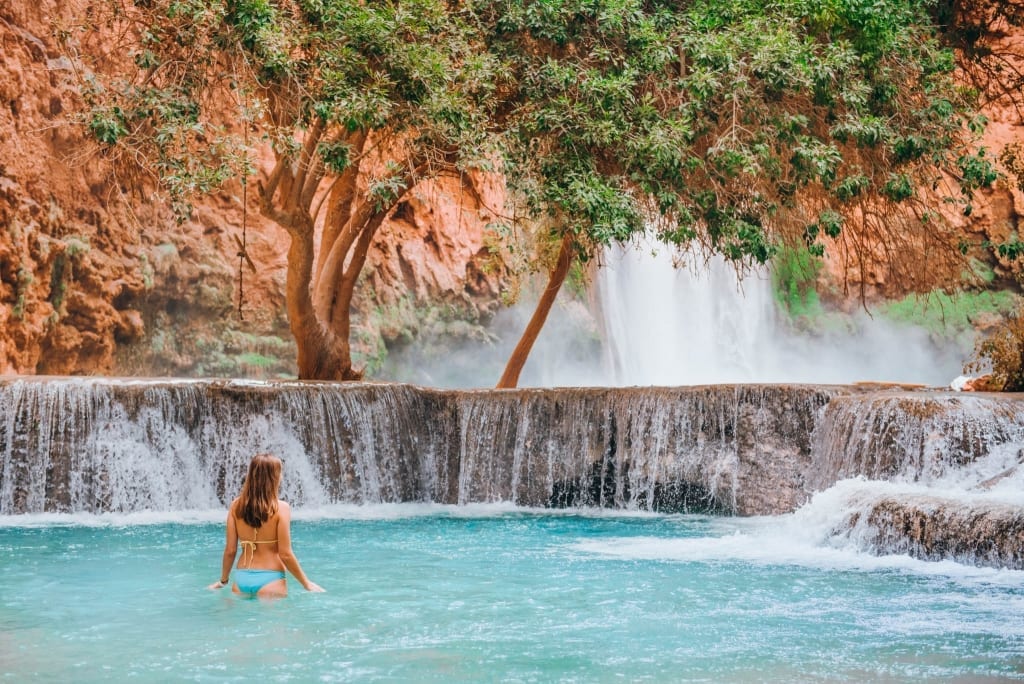
Beaver Falls
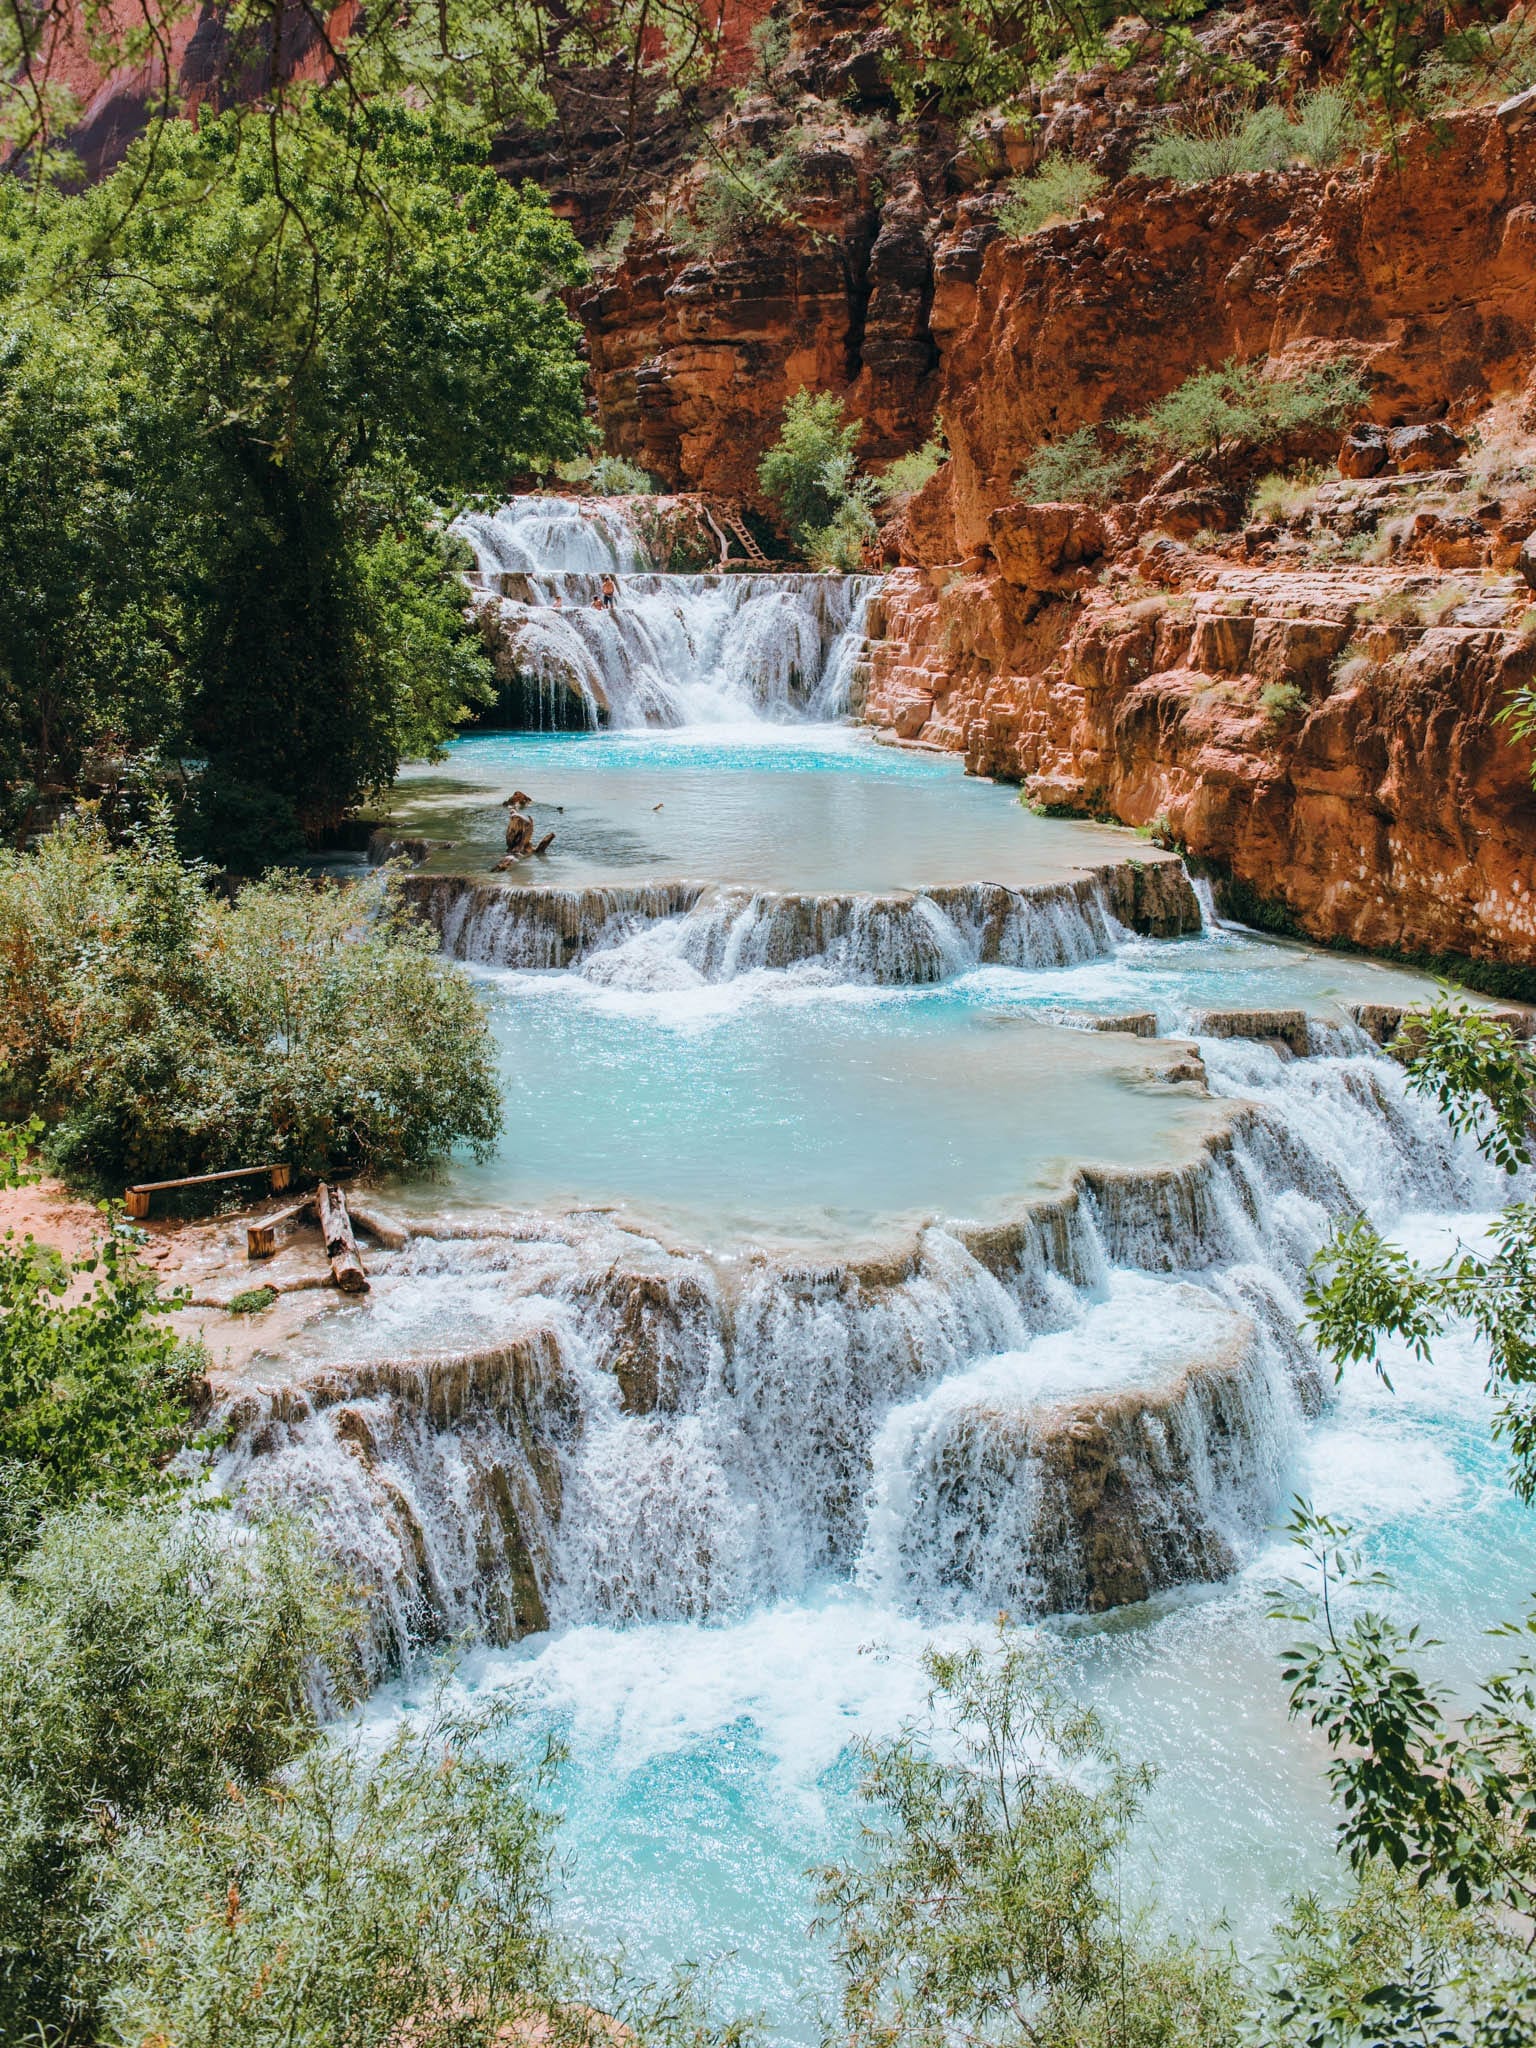
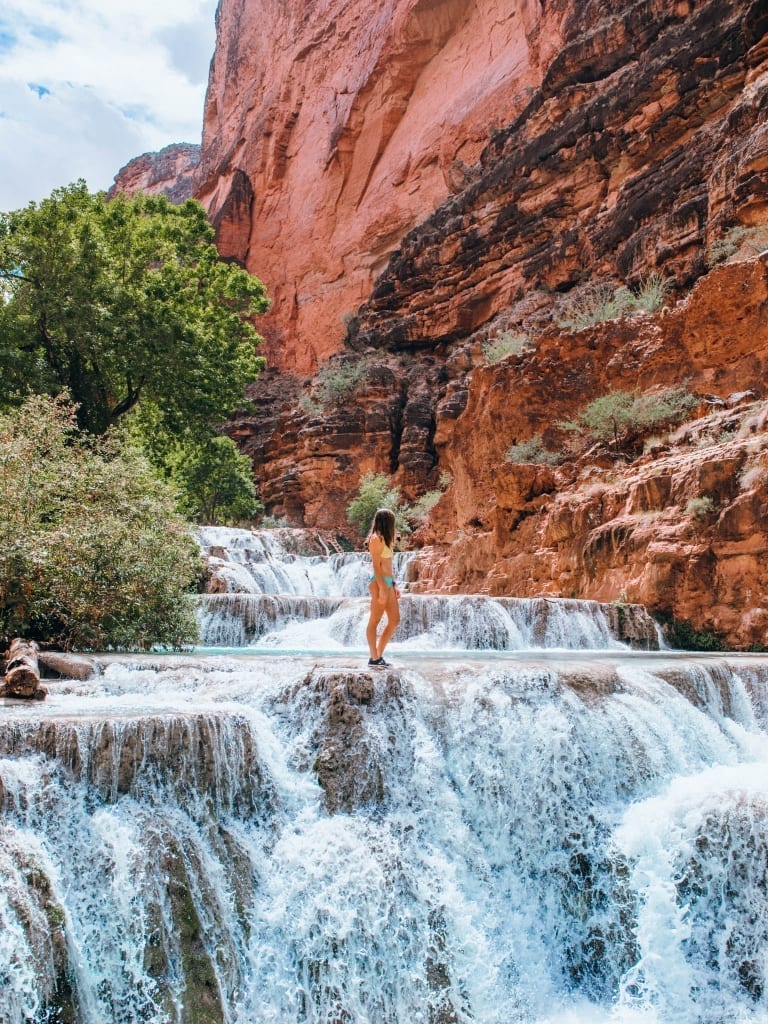
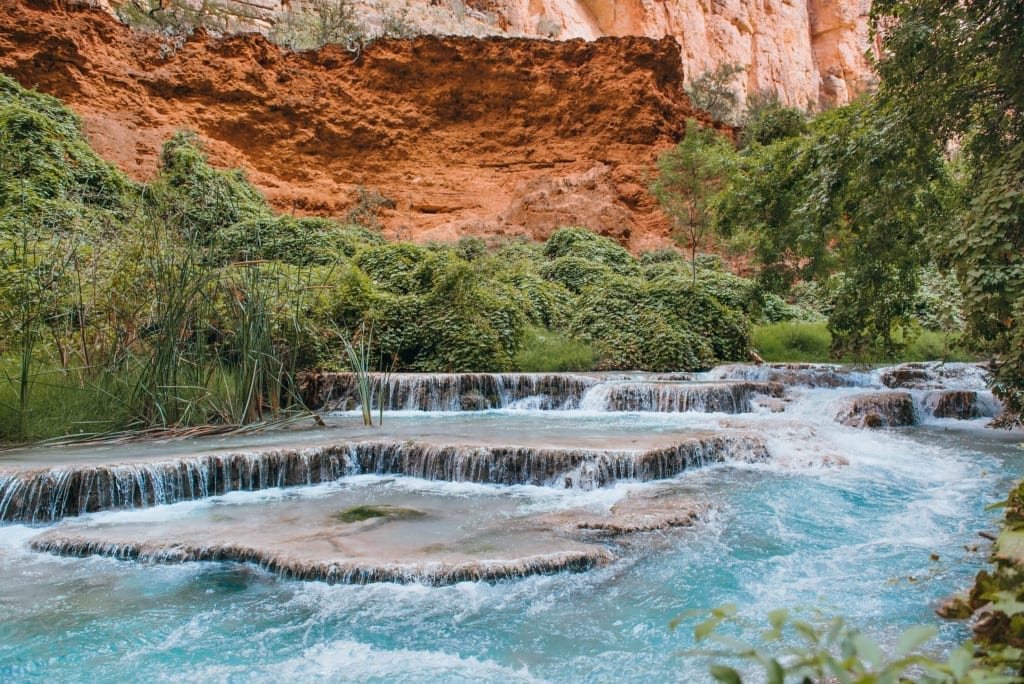
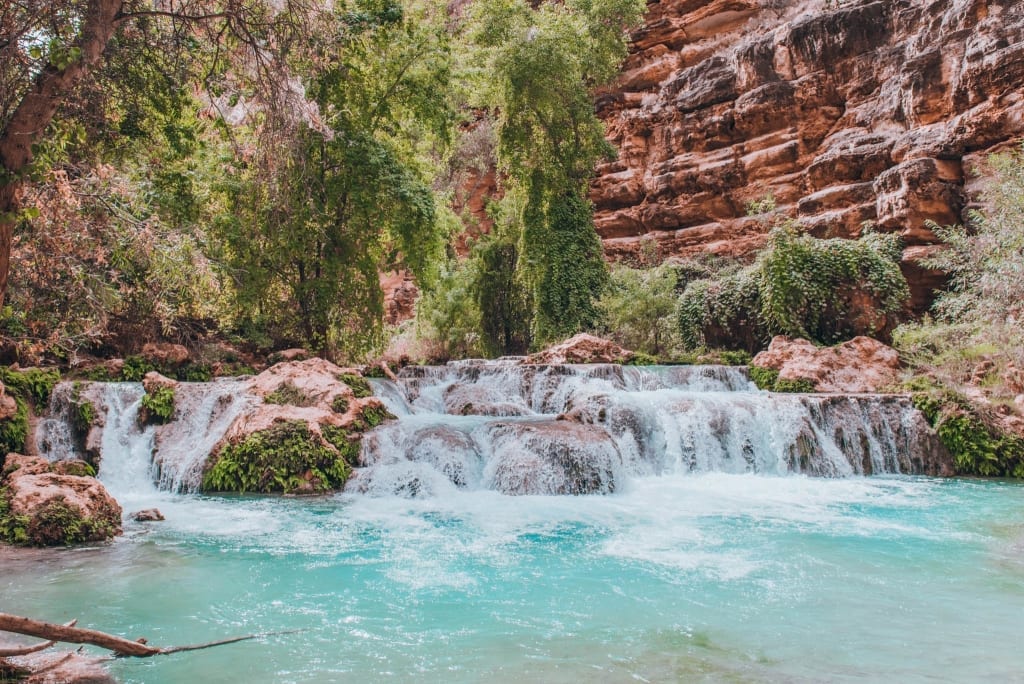
Beaver Falls is a set of small falls located close together. The falls are about 5 miles from the village of Supai (or about 3 miles from Mooney Falls). They are the most difficult falls to access, but they were our favorites. It will take you around 6 to 7 hours to truly enjoy Beaver Falls and the journey there and back, so plan accordingly.
Once you get to the base of Mooney Falls (easier said than done), there is a path along the canyon wall that will take you to Beaver Falls. The next 3 miles are remote, rugged, and gorgeous. The trail is not always easy to follow and requires multiple crossings of the creek. I highly recommend buying hiking sandals, not water shoes. We had shoes, and small rocks kept getting into them when we crossed the creek (which made the hike uncomfortable).
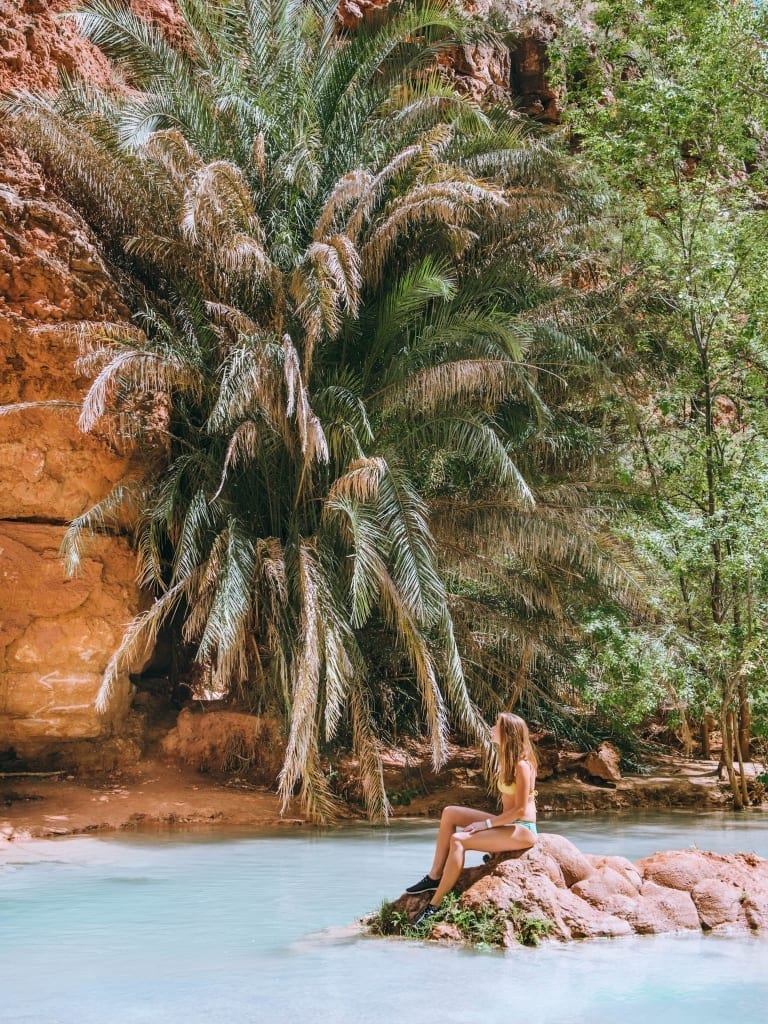
Be sure to keep an eye out for a palm tree!! Yes, you heard that right, a palm tree in the middle of the Grand Canyon (see my photos below)! It is the only one you’ll see during the hike, and one of the biggest palm trees I’ve seen. I recommend taking pictures around here since it looks like you’ve been transported to a Moroccan Oasis.
At the palm tree, you’ll have two paths to take. You can either go left and cross the river,r which will lead you to the top of Beaver Falls. Or you can go right and climb the ladders that lead you to the bottom of the waterfall for a view of the whole thing. I suggest taking the trail with the ladders to see the picturesque view of Beaver Falls.
Once you arrive, you can enjoy swimming in many pools, cliff jumping, and climbing up, down, and all over the falls.
Fun Fact: Beaver Falls was once much more impressive. It had a height of about fifty feet in one fall, but the great flood of January 1910 destroyed it, leaving the falls over the limestone ledges as they are today.
Prices and Camping Fees
Campground
ALL campground reservations are 3 Nights / 4 Days.
- $100 per person per weekday night
- $125 per person per weekend night (Friday/Saturday/Sunday nights)
This means that a 3 Night / 4 Day stay will be a total of between $300 and $375 per person (depending upon how many weekend nights are included)
Lodge
- $440.00 per night – Up to 4 people
- $100.00 deposit per room / per night
Transportation
Pack Horse (up to 4 bags per horse)
- $400.00 – Round trip
Pack Mules must be reserved online BEFORE your visit!
Helicopter Service
- 85.00 per person – One way
*Since the pricing isn’t on the website, I’m basing this off 2018 prices. But expect it to cost more.
There is also a $110.00 entrance/ environmental fee charged per person.
February 1st at 8:00 am Arizona Time is when all campground reservations for the entire 2020 season go on sale. An account at HavasupaiReservations.com will be required to create a 2020 campground reservation. The lodge is completely sold out for 2020, and campground reservations usually sell out immediately on the morning of February 1st, so be sure to set up an account in advance.
For more information, visit the Official Havasupai Website.
Packing for Havasupai
Before we could even start our trip, we had to prepare for what lied ahead: 3 days camping with a 12-mile hike there and back. This was our first “true” backpacking trip, so we had to buy everything we would need.
Here’s what we bought:
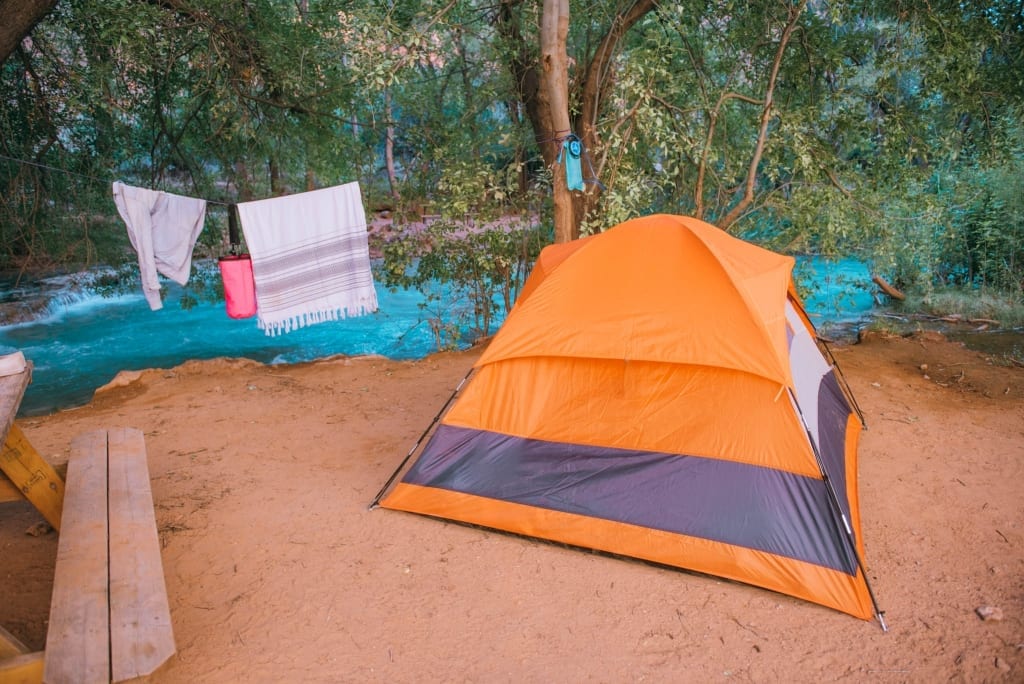
- Semoo Water Resistant, 2-3 Person Lightweight Tent
- Bought during Amazon Prime Day for $30
- While we saw several smaller tents, I preferred one with a bit more room on the inside. Luckily, Layton carried it and not me!
- If you want to spare the weight of the tent, I suggest getting a hammock like this one: CLICK HERE. We saw a ton of these throughout the campgrounds. If you go between the months of April to September, you should be able to find a warm enough spot to comfortably sleep in one of these throughout the night.
- Norsens Ultralight Lightweight Compact Mummy Design Sleeping Bags
- You don’t need a four-season sleeping bag. It is quite warm most of the year (we practically used our sleeping bag as a blanket), so I doubt you will even zip up your three-season sleeping bag!
- REDCAMP Self-Inflating Sleeping Pad with Attached Pillow
- If you don’t go the hammock route, I highly suggest a sleeping pad. The ground is rather rocky, and it would’ve been terribly uncomfortable to sleep on. These self-inflating pads were perfect for us!
- Osprey Porter Travel Backpack 46 Liter
- This was Layton’s backpack. It was big enough to carry his clothes, our food, a sleeping bag, a sleeping pad, a camelback bladder, the tent, and my tripod (the tent and tripod were strapped outside of it). There is no way I could’ve carried so much!
- This backpack worked, but it is not optimal. If you backpack regularly, I suggest buying a backpack with an internal frame, like this one: CLICK HERE.
- Eagle Creek Exploration Series Systems GO Duffel Pack 35L
- CLICK HERE TO VIEW
- This was my backpack! I got it from www.luggageonline.com (be sure to use my personalized Promo Code ‘TheLovelyEscapist20’, which offers 20% OFF) and it worked perfectly for me! It held my clothes, camera, sleeping pad, sleeping bag, and camelback bladder (the sleeping pad and sleeping bag were strapped outside of it).
- Columbia Men’s Newton Ridge Plus II WP Hiking Boot
- These are the boots Layton used, and they worked great. No complaints from him.
- I’m not even going to share my boots because I got blisters the size of quarters on my feet, and I don’t wish that on anyone.
- My advice: find boots that you’ve broken in, feel comfortable with, and don’t rub you raw!
- Waterproof Actions Sports Pack with 2L Bladder
- The waterproof pack will come in handy when you are exploring the waterfall, and the bladder will be handy during your trip, as there is only one water source in all of Havasupai. So carrying enough water at all times is very important, especially during the hikes in and out.
- Smith & Wesson SWBG10S Border Guard Liner Lock Folding Knife
- This knife is great. The strap cutter worked perfectly for easily cutting rope, and the blade worked great on food and everything else.
- IT 32380 12 Oz Stubby Hammer
- Small is what you’re looking for! Since it has to fit easily into your backpack, we found this stubby hammer perfect for nailing down our tent.
- Paracord Planet 100′ Hanks Parachute 550 Cord Type III 7 Strand Paracord
- Dirt cheap and plenty of rope to strap down everything.
- Energizer Pro 3 LED Headlamp
- Everyone in your party will need a headlamp. Just be sure to turn them to dim during the night (our neighbors were not so kind).
- Bear Outdoor Dry Sack/ Waterproof Bag 20L
- Bag for Food: The squirrels are notorious for chewing through backpacks to get to the food. We hung this bag between trees on the Parachute Cord listed above and didn’t have any issues. Lightweight and easy to close, this worked great.
- Food (for 3 days)
- 1st day (hiking down):
- Plan on eating before you start the hike down to Supai
- Pack some gummy candies to keep your blood sugar levels up during the hike (we did sour gummy worms and Starbursts)
- Plan on eating lunch (or dinner if you started to hike late) at the cafeteria in town (it takes a while, but they have burgers, french fries, and chicken fingers, which are much needed)
- We brought beef jerky, peanut butter, granola, tortillas, Pop-Tarts, and Power Bars for dinner. The tortillas were a great choice. If you bring peanut butter, bring a spoon (we didn’t).
- 2nd Day (exploring the falls):
- Plan on eating a light breakfast. We had Pop-Tarts.
- You can eat lunch at the cafeteria again (if you go to the first few waterfalls) or pack a lunch if you go to the far waterfalls. We ate granola nearly all day.
- Same kind of dinner as the first night (tortillas and beef jerky were our favorites).
- 3rd Day (hiking back):
- Eat a light breakfast. More Pop-Tarts.
- Pack some gummy candies for the hike.
- Pack carb-heavy snacks for your breaks. We did tortillas.
- If you leave early enough, you can get to your car by lunch. Then you can get into town for a good lunch.
- 1st day (hiking down):
- Clothes (for 3 days)
- Hiking boots
- Thick wool socks
- Water sandals
- 3 lightweight shorts
- 3 short-sleeve t-shirts (make sure not to wear tank tops while carrying your backpack)
- 3 lightweight undergarments
- 2 swimsuits
- 1 long-sleeve flannel
- a hat
- sunglassess
Tip: Bring a Turkish towel for drying off and baby wipes to keep clean.
TO SEE MORE OF MY HAVASUPAI ADVENTURES, CHECK OUT THIS VIDEO:
*Be sure to watch in HD 1080p res
I hope you found this guide helpful and plan on visiting Havasupai Falls very soon! If you have any questions about preparing for Havasupai or other suggestions, please leave them in the comments below. I’d love to hear from you!
Cheers!
Angie xoxo


[…] The Lovely Escapist […]
Thank you for the great information. We will be going in June for 3 days/2 nights. We would like to start hiking as early as possible, do you know how early the checkin office opens at the parking lot?
You mentioned you hiked out in the morning also. Would there be another optimal time to hike out later in the day so we could spend more time there?
Hi Cheryl! I actually don’t know what time they arrive at the parking lot checkin, however, if no one is there, just hike down anyways and once you get to the village you will check in at their office (which is the official checkin).
Another good time to hike out is probably 5pm or later when the sun has gone down over the canyon and you can hike in some shade. (This time varies on the time of year). You should bring a headlamp to Havasupai for when the sun goes down and you want to use the bathroom or have light but definitely keep this close if you hike out in the afternoon in case you end up hiking when it’s dark. I would recommend not hiking in the dark but if you feel comfortable it’s always an option.
Would never recommend Havasupai. For 40 years that tribe has HORRIFICALLY abused their pack animals. Well documented, continues to this day. Don’t contribute to animal abusers.
havasupaihorses.org
Hi Angie,
I love your post! My two kids and I have permits for May 8, 2019 and it’s showing that it’s going to rain the 4 days we’re going to be there. This is our first time going to Havasupai, any suggestions on how to be better prepared for the rain?
Thank you in advance!
Laura
I Laura,
So I would actually contact the Havasupai Reservations (Support@HavasupaiReservations.com) because they may actually cancel all reservations if the rain is sever and causes lots of flash floods. However, if they allow you to hike, make sure your hiking shoes, tent, and backpacks are water resistant/proof or the tent and backpacks have some sort of waterproof pullover.
If a flash flood occurs while you’re there, the tribe sends out people on horses to ride through the camps and warn people/ help them get to safety (which usually is just higher ground). I would camp closer to Havasu Falls, not close to Mooney Falls in case of an evacuation.
Hi Angie, thank you so much for all your insights. My husband and I are doing our first backpack trip to Havasuapi in early June. Wondered two things. First of all do you recommend bringing little things for the village children or school? Secondly I was planning on Keen water sandals are you recommending closed toe/ foot water shoes? Thanks again!
Hi Laura! I’m actually not too sure about bringing little thing for the village children or school. I would think bringing something would be okay, but I maybe email someone from reservations and see what they say. That’s so thoughtful of you! Also, I think water sandals are perfect and better than close toe water shoes! However, for the actual hike, I recommend close toes shoes as you will be walking through a lot of gravel. I hope you and your husband will have such a fun time. 🙂
Hi Angie,
I will be heading to Havasupai next week, and we are only staying one night as our reservation was moved after being rained out last August. I was wondering if you knew whether you are able to hike out in the evening? We were planning on hiking down in the morning, and out the evening the next day but I wasn’t sure whether there are certain time stipulations you have to abide by.
Hi Hannah! Glad you get the chance to go! I just checked the Suapi website and it says that night hiking is NOT permitted but then it also says it is not recommended but if you do it, be sure to take a flashlight and extra batteries. No one will stop you from hiking at night but my advice would be not to hike at night since it would be easy to get lost and without anyone else on the trail, you wouldn’t have any help. http://theofficialhavasupaitribe.com/Supai-Information/supai-information.html.
Hello Angie!
I am from India and I loved reading your blog and this adventure so much that I have decided whenever I go visit the United States, this is the place that I am DEFINITELY visiting. ???? Anyway I had a question as well, you mentioned the cave to access the Mooney falls was pretty tight so did you bring your backpack with you and if you didn’t, where did you leave it.
Also thank you so much for your help. This place looks like heaven and I would like to go visit before it gets too crowded. 🙂
Hi Moksha! That makes me so happy to hear. I hope you will visit soon. To answer your question, the access down to Mooney falls is very steep, slippery, and narrow but you can fit with a backpack. You will need to take a backpack down with you if you intend to explore more of the area and go down to Beaver Falls. Hiking to Mooney and down the river is the only way. Make sure to bring snacks and water. 🙂
Hi, Thanks for the tips – very helpful! I’d like to clarify where we check-in – I’m a little confused with your statement: “You’ll have to park at Hualapai Hilltop and check in with the front desk (the only building around the trailhead).”
Do we need to check-in at the trailhead / parking lot? I thought it’s at the Village after hiking 8 miles down?
thanks in advance for clarifying.
Hi Mary,
So before you start the hike, they make sure you are on the list of people who have permits. So they will ask for your name and an ID. But you are correct. The actual check-in is at the village.
Never been here before. Any info on car break-ins at the hilltop parking?
I never had any issues and no one I know has either. It’s pretty remote so I doubt it’s common. To be safe, I would bring all your valuables with you.
Angie, the cost for the helicopter, does that include 1 person and their pack?
I believe it does include their pack as well, but only 1 bag. However, since I didn’t take the ride, I’m not 100% sure.
When I visited in early March 2020, AirWest Helicopters charged $100 per person, including your pack, to fly from Supai Village to Hualapai Hilltop. Many hikers took advantage of their offer.
Hi Angie,
My how things have changed! Back in 1968 Havasu Canyon was rarely visited. In those days, there were no permits, no reservations; you could be spontaneous. My boyfriend and I (we were both 27 years old) hiked from the Hilltop down to Mooney Falls and back up in one day.
We left the Hilltop at 6:00 AM and were halfway down before realizing we had forgotten to bring most of our food. We had a small packet of dried soup and a packet of dried apples. Arriving at the village, we ate our meager soup (which was lacking in most nutrients except noodles and salt). Then carried on past Havasu Falls down to Mooney Falls, where we had a refreshing swim. Then headed back up the canyon.
About a mile above the village, we spotted a very pregnant girl on horseback, trying to control her horse. The horse threw her off. I ran back to the village and found the resident doctor. We hurried back up to the girl. My boyfriend and I didn’t have time to hang around,but were hopeful that she and her baby would be OK. It was 5:00 PM and getting late. We reached the Hilltop at 1:00 AM.(A couple of days later we read in the paper that The girl and her baby were doing well after being airlifted out by helicopter.)
That six-hour hike back to the top was probably the most difficult physical feat I have ever endured. Very hungry, with only dried apples to eat and footsore, wearing only canvas sneakers (no socks), I fell into a routine: hike 10 minutes, lie down and sleep a minute or so; then repeat. My boyfriend was able to stay on his feet and would wake me up when it was time to carry on. That was 50 years ago.
I have not heard of anyone else making this round-trip in less than 20 hours, but imagine there are a few. I’d be interested to hear about any other especially remarkable Havasu Canyon adventures that people have had. Since that day, I haven’t been able to eat dried apples.
Love this! Just got my reservation for June 2019! Thanks for all the helpful info…. I am concerned about the rodent problem as I have read that they will chew through tents and backpacks…. is the bear outdoor sak all you used? Were you worried about the rodents coming into your tent at night?? haha I am FREAKED OUT!!
Yay! So happy that you were able to get permits!! 🙂 So the reason why the squirrels come into peoples tents is if they keep open food in their tent. So I recommend getting a dry sack, waterproof bag like this one HERE . We also tied it up between two trees which kept any rodents out! But nothing should come into your tent if you don’t have any holes and there isn’t any food in it. 🙂
Hello, hope this post isnt a downer. I was planning a trip out to Havasupai in May or Sept of 2019; however upon further investigation and have dicovered many accounts of active and past animal abuse (2006-2018) to the pack animals (horses and mules). I personally would never use animals to carry my gear, but worried others are still using it. I was wondering if on your trip you witnessed any abuse/neglect? Really wanted to go but have seen too many images of horses abandoned on the trail (with no shade or water left for dead), under weight/underfed, and hides rubbed raw from being over packed and not properly protected with padding. So wanted to get an honest account from someone who was recently there, I guess to verify if things are getting better? I know Humane Society of the US have been trying to help out, but wanted a account from someone who recently went and what they would advise.
Thank you for your time and help
With gratitude and thanks
Hi Rickie! We’ve already chatted but I wanted to reply here in case anyone else has the same question. 🙂
I think it’s really great you’re doing this research before you go!
Before my husband and I went, we had no idea what to expect from the pack animals. We didn’t even really know about them till we showed up. Honestly, some of the horses look fine while others look a bit thin. But from the ones I saw, none looked sickly or mistreated. However, I’ll be honest, I was so overwhelmed by hiking that I didn’t really pay too much attention to the animals going by. When we were in the village of Supai though, I did notice some sickly looking horses in fenced off areas. But they had plenty of grass and water around so I don’t really know if it was just a sick horse or if the people had caused it. The village is really remote so I don’t know if it would be hard to get a sick animal help.
I can’t guarantee that if you went, you wouldn’t see anything upsetting. But from my personal experience, I didn’t see anything horrifying (no open wounds or physical abuse).
I hope this helps! Honestly, hiking to the Havasupai Falls to this day is one of my favorite experiences of ALL time so I really really recommend it. I also think if you decide to go and see signs of animal abuse, you could advocate for them by sharing your personal story and even some images if you’re able to get some. No animal should be mistreated and if I had seen it happening I would have done that.
How is the water situation?? Did you have to bring a filter to have drinkiñable water or is there water available?
Thanks!!
Thanks for the info Angie 🙂
But What about the bathrooms? It’s there any? What you guys did?
Just want to be sure for packing and what not to eat haha
Thanks
Hi Monica! There are actually a few different areas at the campsite that have bathrooms. And they tend to keep them relatively clean, and they really didn’t smell horrible when we were there. I remember they had toilet paper as well but just in case, I’d bring a roll or pack tissues.
There are also some toilets in the village of Supai, which is 1 mile before the first falls. However, there aren’t any along the trail. I actually don’t think I ever used the bathroom along the way, mostly because all the water I drank I sweat it out. But if you need to go, you’ll just have to find a bush to hide behind. Again, bring some toilet paper or tissues just in case. 🙂
I just got back from the falls yesterday and your blog helped tremendously! The only comment I have is the water is NOT 70 degrees as of 11/20/18. It was dang cold, probably 45 degrees. Otherwise very informative and helpful blog! Thanks!
Are the waterfalls deep? I can swim, but am not a strong swimmer and like to know the depths that I am entering.
Around the falls it is probably 5 ft or more deep. But the creek areas vary. There’s plenty of spots where it’s ankle or waist deep. You should be fine. Jsut don’t enter any areas of water that are fast flowing until you know how deep it is.
If you don’t mind me asking…What camera and lens did you use to take these pictures? Thanks in advance.
I don’t mind at all. 🙂 I use a Nikon D750 and a Nikon 24-70 f/2.8 lens.
Thank you for this!! My boyfriend has been wanting to this hike for years and I’ve just been so intimidated by it. But you’ve definitely made it seem attainable. Why month did you go? I know you have to be careful not to go during rainy season.
Hi Stefani! I went at the very end of September. Monsoons still happen till about the middle of Sept, sometimes later, there really isnt a guarantee. But we didn’t have any rain, in fact the weather was beautiful! Not too hot or cold.
Very disingenuous comment!- the horrific abuse of equines at this location has been the subject of numerous complaints and efforts to help stop it. No one who cares about animal abuse should support this place. If you do carry your own stuff.
https://havasupaihorses.org/
This is awesome! Thank you for the tips!! I finally had the chance to see it this year after trying for 3 years!
Thats great! I’m so glad you’ll be able to finally go! 🙂
Hey girl.
Your post was awesome! Me and my friends plan on doing exactly what you are doing. We even planned out dates we can or cannot do and left a lot of dates throughout the year open to get this permit when it’s feb 1st. Is there any advice to have successfully get a permit?
Thanks,
Nancy
Hi Nancy!! That’s so great you and your friends are so prepared! 🙂 The only advice I have is to make sure you are on the Official Havasupai Tribe Website 10 minutes before they open reservations (so 7:50AM), have your dates in mind, and once it’s 8:00AM, try to get a permit. There will be a lot of people trying to get permits right when they open but all anyone can really do is pray they’ll be one of the lucky ones. Best of luck!!!
This looks totally amazing. I am currently sat looking through your blog for honeymoon inspo….This is a strong contender!!!
I’m so excited for you!! Congrats girl! 🙂 Havasupai really is such an amazing place to visit! But you do need permits which are sold February 1st each year and they usually sell out that same day!
Very informative Angie! Thanks so much for sharing as this will be very helpful to everyone that would like to experience this beautiful place!
Thank you for reading my post and for the lovely feedback Kiysha! That means so much to me! ?
Loved reading this Angie-super helpful and loved the pics. I’ve tried multiple times to book a reservation by calling multiple times and could never get through! How did you book and how long in advance did you have to book? Thanks, Chelsea xx
Thank you so much Chelsea for reading! 🙂 This past year, they changed their reservation processes. Reservations opened February 1, 2017 and instead of calling, it was all online. However, since they immediately booked up, if you want to try to receive permits for the rest of this year (this would only happen if someone cancelled) you have to call. It is unclear what the process will be for 2018 permits since their website says online reservations are unavailable. However, just refer to their website for any updates: http://theofficialhavasupaitribe.com.
Lucky for me, one of my friends, who had gotten a permit on February 1, 2017, was unable to go. So she transferred her ticket to me in August and we went late September. Typically, if you want to purchase a permit directly from the Havasupai tribe, you should do so the day permits become available.
I’ve wanted to do this hike for years but the lodge is always booked up and I doubt I can get my hubby to camp! How are the camp grounds? Are there bathrooms or showers near the camping area or is it completely roughing it?! Amazing tips! ✨✨
The campgrounds are very well kept (they have a leave no trace policy so everything must be taken back to the town and not left or thrown away at the campgrounds). They have very nice bathrooms, but no showers. However, you honestly can just jump in the river and rinse way any dirt and sweat. We also brought baby wipes. To be honest, I really don’t love camping; however, this was pleasant. It was especially nice since we did go late September so it was nice and cool in the evenings.
Best Havasupai Falls video I’ve ever seen. Beautiful, entertaining and full of useful information. It looks amazing. Great job Angelina!
Thank you so much 🙂 I’m glad you also enjoyed the video!
Great Post Angie! Very informative and Havasupai Falls looks beautiful!!! It’s definitely been added to my bucket list!!! You got some amazing photos and it looked like you had a really great time! Thanks for all the travel info ????
I’m so glad you added it to your bucket list! It really is one of the most amazing places in all of Arizona, and maybe even the world! ?