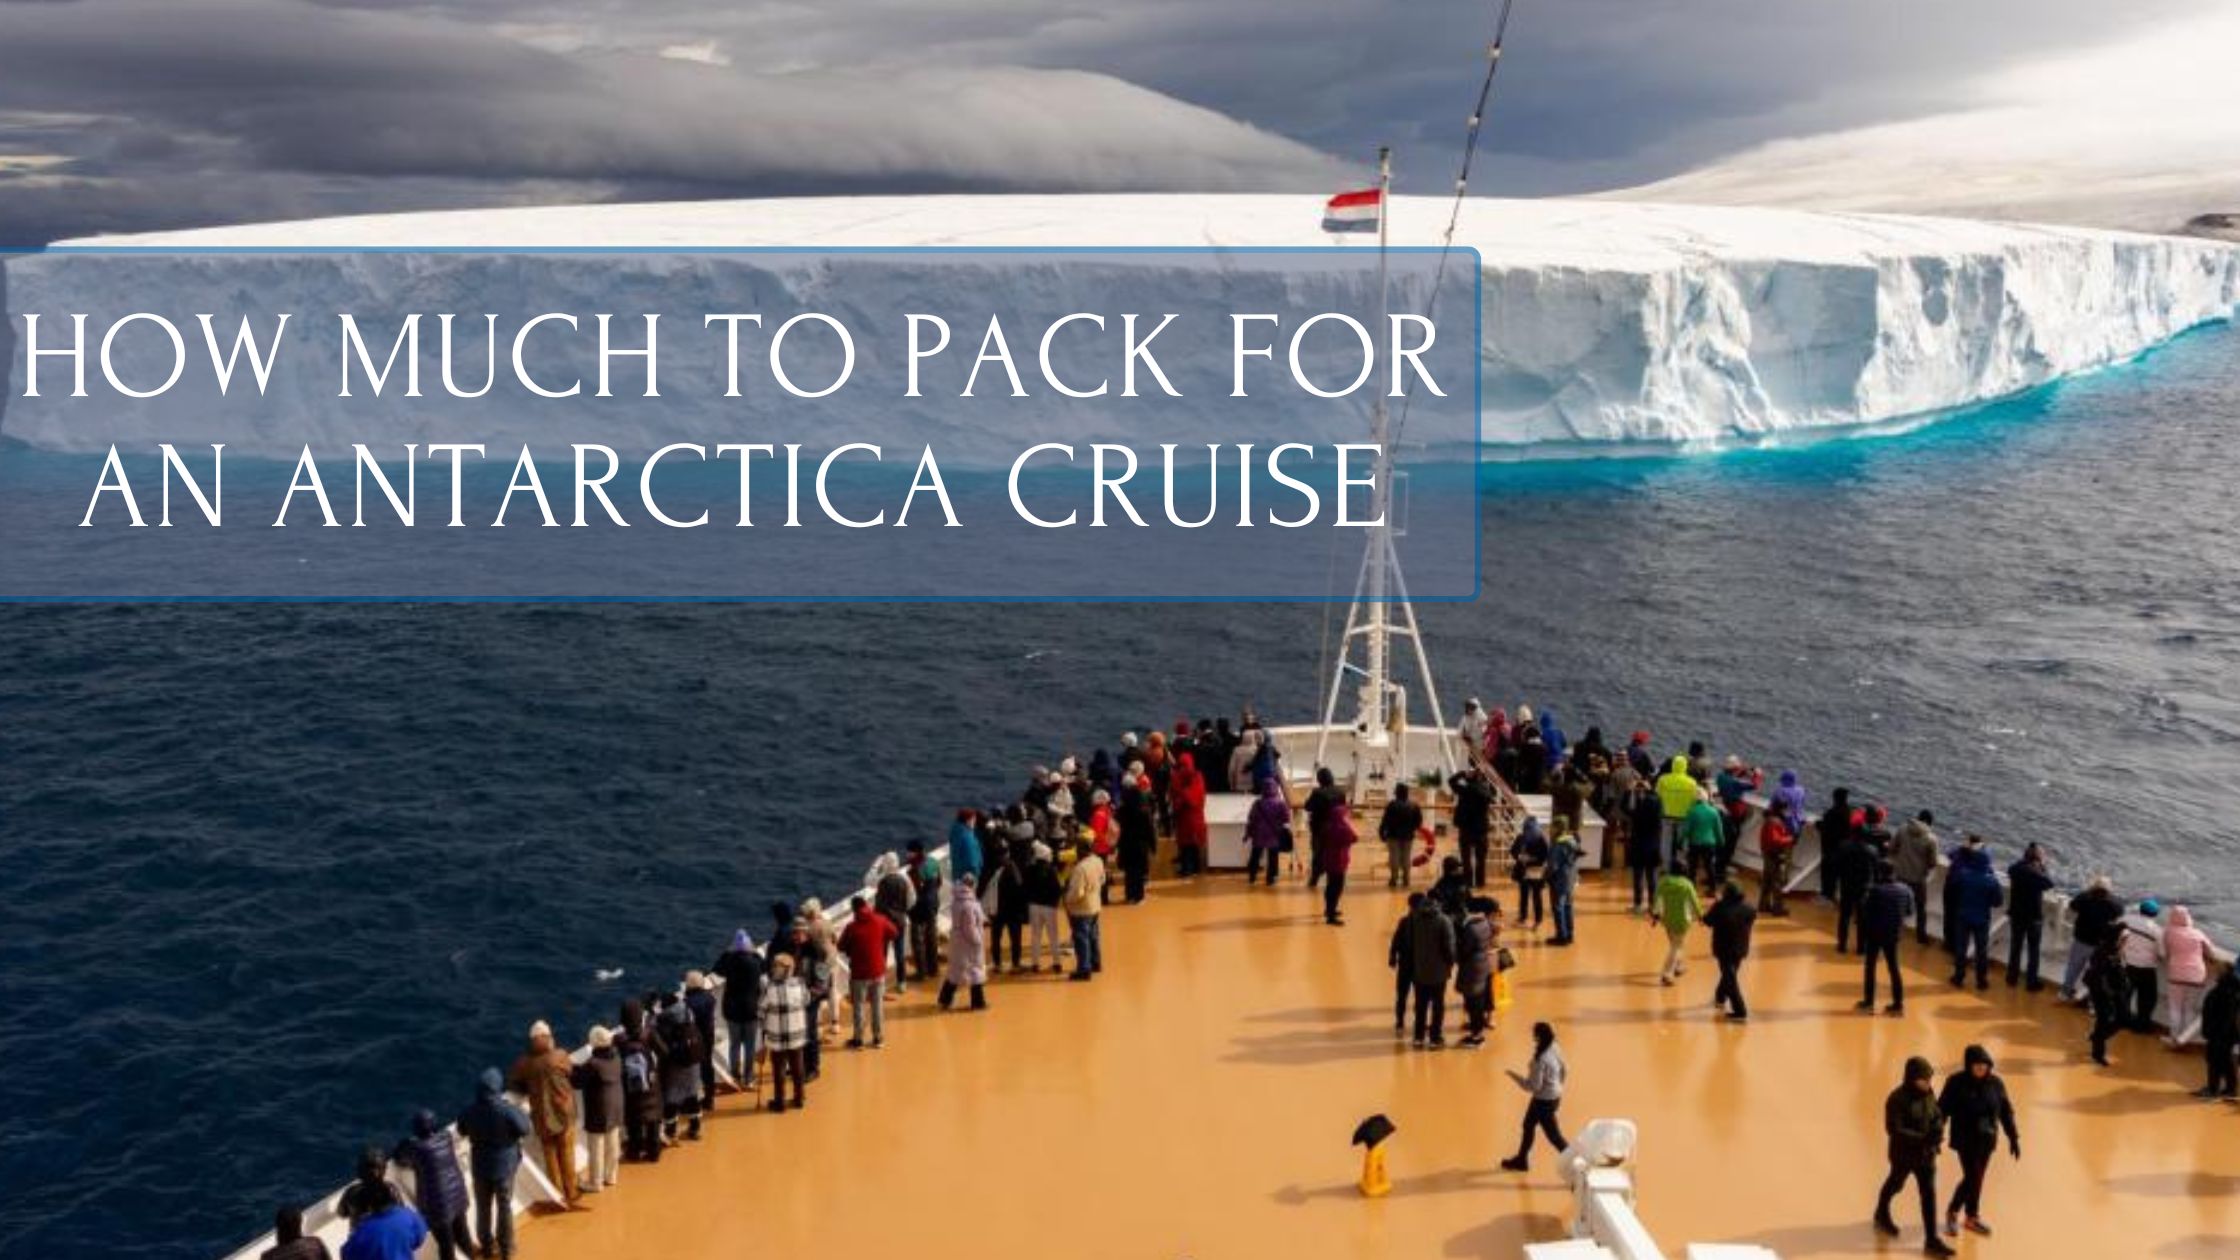
Antarctica is one of the harshest, unrelenting, and unlivable areas on Earth. Mankind has never fully populated or developed the continent due to the harsh weather conditions. However, visiting the 7th continent is a bucket list travel adventure for many. To enjoy your Antarctica vacation, you need to pack clothing and supplies that will keep you comfortable in this Arctic environment. Still, at the same time, airlines have luggage limits, and we all know the pain of “over” packing for a vacation.
Here, you’ll find what to pack and, even more importantly, how much to pack for and Antarctica cruise based on how long you will travel.
- What to pack
- How often you can wear the item
- Special items
- Airline & baggage concerns
Layers
Artic clothing depends on dressing in layers. A first underlying “thermal” layer made up of merino wool and commonly called “long underwear” is a must for every day in the elements. A second warming layer, consisting of sweatpants and sweatshirts or fleece pants and fleece jackets, can go over your thermal layer if you have a particularly cold weather forecast (sub-freezing) and/or a light activity itinerary (e.g., no hiking, etc.).
The last layer you will need is your waterproof and down-lined pants and parka. This final layer will provide warmth and waterproof all your underlying layers from the ice, rain, snow, and waves. I’ll dive deeper into these layers and how much you should pack them all based on how many days you are out.
Thermal Layer
The first trick to the thermal layer is it shouldn’t be your “real” first layer. Wear your regular underwear underneath your thermal layer. This will keep your thermals from getting extremely smelly as you wear them out. The second trick is that your thermal layer should be high-quality wool or thermal-spandex-like material.
Nike and UnderArmour make fantastic spandex thermal layers for cold-weather athletes (e.g., hockey, football, soccer, etc.) that you might already own. However, if you want to go the more traditional route, there are several low-cost Merino Wool thermal sets with varying thicknesses available on Amazon. We bought these three (two for my husband and one for myself).
Whichever route you go, I suggest having a “light” and a “heavy” pair of thermals as certain days will be more active and get your blood pumping, and you don’t want to be sweating a ton with heavy thermal underwear on when you have those activities.
How much to pack is a personal choice. However, for six days in Antarctica (not counting sailing days or travel days), we wore two thermals and didn’t do any laundry on either set. We wore each set of thermals about three times, primarily rotating between light and heavy each other day.
With this in mind, I would suggest a single pair of thermals for anything two days or less, two thermals for anything between three to six days, and three sets of thermals for anything longer than six days, anticipating you’ll do laundry at least once a week.
Warming Layer
Most experts will tell you to go with a set of fleece pants and fleece jackets to put over your thermal layer to keep you extra warm. We had fantastic weather, and during some very active hiking days, we didn’t wear anything over our thermal pants; we just wore t-shirts over our thermal shirts. You can’t bank on good weather, so pack for the worst and hope for the best.
Fleece works excellent, but so do old-fashioned sweatpants and sweatshirts. Most people will have a pair of sweatpants lying around, and those will work just fine for your warming pants layer. If you have a Patagonia, Columbia, or North Face fleece jacket, it will be very helpful throughout the trip, and I suggest packing it. However, a hoodie will do just fine as well. All the warming layer has to do is just provide additional warmth beyond your thermals.
My husband and I only wore one set of our warming layer for the entire six days we were on the continent. One pair of sweatpants and a fleece jacket are what we wore when it was cold enough. If you have less than six days, one pair is fine. If you will be out in the cold for over six days, then two sets of warming layer clothes are recommended.
Outer Layer
While you can skimp on the quality of the first two layers, this final outer layer is where it starts getting pricey. High-quality parkas can run you for more than $2,000, and reliable waterproof pants with interior lining are hard to find (trust me, mine said they were waterproof but were not)!
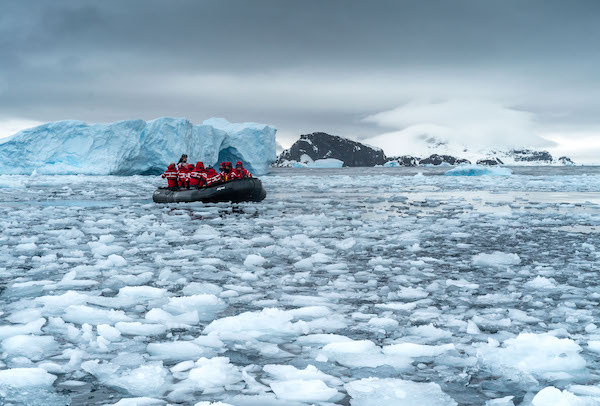
If your cruise or expedition provides a parka, you’ll be fine with what they give you. If they don’t, there is only one parka that we can highly suggest, and that’s the Canada Goose Expedition Parka. My husband wore this the entire trip and was never cold once, even when our zodiac was getting crushed by wave after wave of frigid water, and he was sitting in the front completely covered and dripping.
The Expedition Parka is very waterproof, has fantastic down feathers to keep you warm, and comes in various sizes and fits to ensure you get the right one. I suggest buying a size smaller in the jacket than you usually do. Unlike most winter coats, where you might size up, these parkas are built for underlying layers, and the less space you have between your thermals, warming layer, and parka, the better.
For example, my husband is 5’10” and 180lbs with an athletic build and wore a men’s fusion small. Fusion is their version of a “slim” fit. He had purchased a medium and large as well to try out the sizes, and both were way too big. If you have any questions on sizing, go to the Canada Goose, put in your dimensions, and see what they suggest. Given the prices of these jackets, eBay or other used clothing stores are where you should shop to see if they have your sizes. If you begin searching for these parkas during the summer, you can find them for as little as $400, which is an excellent deal for such a high-quality jacket.
Your outer layer of pants is just as crucial as your parka. Some people on our cruise opted for two separate pants layers, one which was rain pants and the other being a down-lined set of trousers or overalls. However, most outdoor clothing brands (such as North Face or Columbia) have pants that do both. If you already have rain pants, just buy down-lined pants and call it a day. However, if you don’t have utterly watertight rain pants, I heavily suggest looking for watertight pants (sometimes called ski pants). I purchased the Columbia rain pants, but I wouldn’t suggest them.
Whichever path you go, the most important part of the pants is ensuring they are waterproof, synch around the ankle to ensure no snow gets up into your boots, and have some kind of interior down feather layer.
Accessories
Shoes, socks, gloves, hats, neck warmers, and sunglasses will also be part of your packing list.
Most expeditions will provide you “muck boots,” which you’ll wear during all of your visits to shore due to the bio-clean requirements (i.e., all of your outer layer of clothing, backpack, and anything that will touch Antarctica must be cleaned with a special soap which kills off biological life to ensure non-native species don’t impact Antarctica). When not onshore, a pair of tennis shoes will work just fine around the boat.
You will want at least one pair of heavy wool socks every day you plan to be in Antarctica. These were the pairs we purchased from Amazon, and they worked great and kept our feet warm every day. No need to “double-up” socks or anything like that. The muck boots provided by your cruise will be warm enough with these socks.
You will need a few types of gloves. I would suggest getting some light gloves, which are touch-screen friendly, to wear daily so you can still operate your phone’s camera. These lighter gloves can be worn underneath a larger waterproof glove to keep your hands dry and warm. We rented large mittens from our tour operator (Oceanwide Expeditions), which were OR mittens (research model) and worked great at keeping our fingers dry. I purchased these light touchscreen-friendly gloves, which were a perfect base glove layer . During the cruise, I borrowed a friend’s Burton gloves, which were super cozy, and I went out and bought my pair after the trip because I liked them so much.
I suggest buying two hats: a wool beanie and a waterproof outer layer. Any wool beanie will work, which we bought cheap on Amazon. For a waterproof outer layer, you can buy this Russian-style hat or just a larger beanie with waterproof material on the outside, which will do the trick. When you have no snow, rain, or wind, your wool beanie will keep you warm. You need to wear your waterproof layer when you know you’ll get some wave splashes or precipitation.
Closely related to hats will be your neck warmer and sunglasses. You will want a merino wool neck gaiter, which you can pull up to cover your nose during windy sessions. We bought this one from Amazon, and it worked great. You will also want polarized sunglasses to protect your eyes from the sun and the shine from the snow. Once again, Amazon has many cheap options, like the ones my husband and I used.
Conclusion
The last piece of planning you need to investigate is how many bags and weight each bag can be for your specific airlines. We flew with Aerolineas Argentina which allows you to have a personal item (weight and size), carry-on bag (weight and size), and checked bags (weight and size). However, if your checked bags are too big or heavy, you can pay extra to ensure they are loaded.
At the end of the day, how much you pack will depend on how many days you are out in the elements. If you aren’t landing in Antarctica, you don’t need to pack much more than just what you would pack during a ski trip. You need to be as prepared as we were when you have several planned excursions or visits to the continent.
If you want to know about how our trip to Antarctica went. Check out our experience with Oceanwide Expeditions here.

Leave A Comment